Perfect Flowerpot Bread Rise: Unlocking the Oven Warming Technique for Flawless Loaves
The simple charm of flowerpot bread has captured the hearts of home bakers everywhere. Imagine a perfectly rounded, crusty loaf, baked not in a traditional pan, but in a humble terra cotta pot, emerging with an irresistible aroma and a rustic appeal. This isn't just about baking; it's about crafting an experience, a delightful treat that whispers of homemade goodness and makes for an incredible visual feast. Whether you're aiming to recreate the adorable loaves seen at chic garden cafés or simply seeking a unique baking adventure, mastering the rise is paramount. And the secret to that consistent, beautiful bloom often lies in an ingenious, yet incredibly simple, oven warming technique. Forget inconsistent counter rises; we're about to reveal the precise method for achieving a dream rise every single time, ensuring your flowerpot bread is always ready to be transformed into the most delicious free toast you've ever savored.The Allure of Flowerpot Bread: More Than Just a Loaf
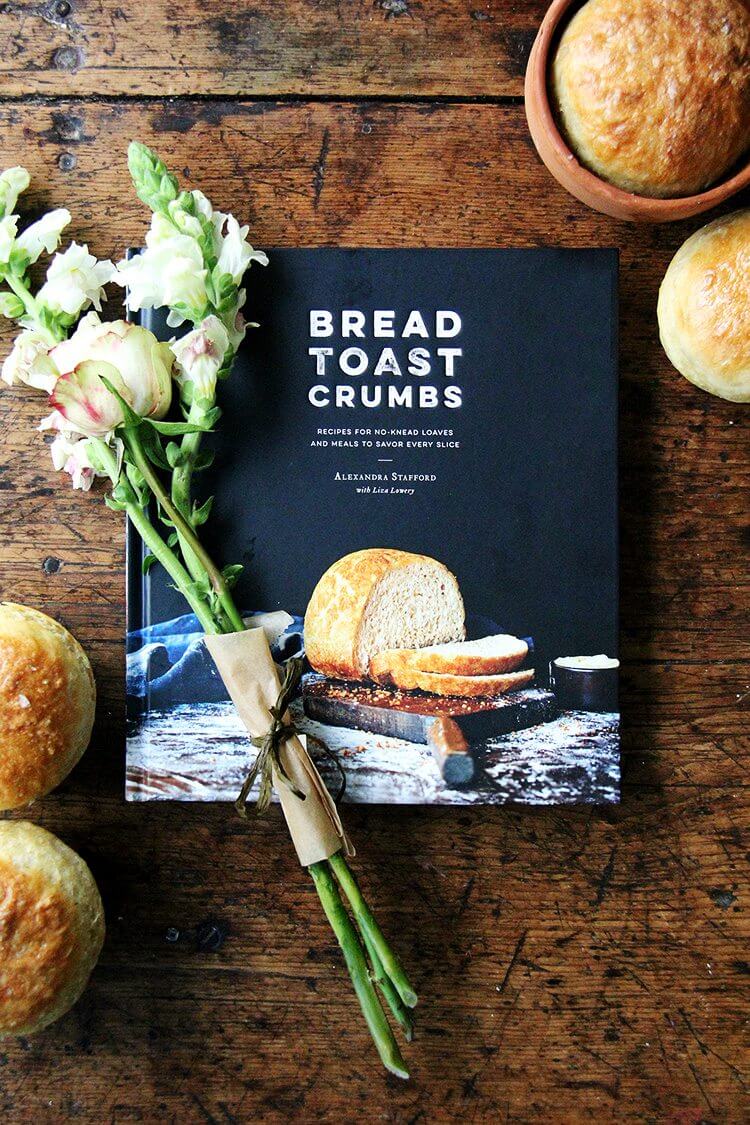
There's an undeniable magic to flowerpot bread. Its origin story often involves a friend's text message—a delightful photo from a place like Terrain's garden café in Westport, CT, showcasing these miniature edible sculptures. This unique presentation elevates a basic peasant bread recipe into something truly special. The act of baking bread in a pot transforms it from a mere staple into a charming centerpiece, a conversation starter, or a heartfelt gift. Each loaf, with its individual character, feels like a little treasure, a testament to the joy of homemade baking.
For many, this isn't just about the novelty; it's about the inherent quality. Making flowerpot bread at home means your pantry can always be stocked with fresh, wholesome goodness, free from the preservatives and additives often found in store-bought varieties. It’s about the pure, unadulterated pleasure of a warm slice, perfectly suited for spreading butter or jam, making it the ultimate "free toast" experience – not free in cost, but free in spirit and wholesome ingredients. And if you're thinking of sharing your creations, imagine attaching a personalized, charming "bookplate" style tag to each pot, transforming your delicious gift into a memorable, thoughtful offering.
Choosing Your Pots: Safety First for Your Adorable Loaves
Before you dive into the delightful world of flowerpot bread, selecting the right vessels is crucial. While the idea of baking in a garden pot is rustic and charming, safety must be your top priority. The reference context mentions using six small terra cotta flowerpots, roughly 4 inches in diameter at the top opening and a little over 3 inches tall. These dimensions are ideal for creating individual, single-serving loaves, reminiscent of the artisanal offerings seen in specialty cafes.
Key considerations for your pots:
- Material: Opt for unglazed terra cotta pots. Glazed pots, especially older ones, might contain lead or other harmful chemicals. Unglazed terra cotta is porous and allows for a beautiful crust to form.
- Food-Grade Certification: While many local shops, like Faddegan’s mentioned in the reference, sell terra cotta pots, it’s always best to seek out pots explicitly labeled "food-safe" or "oven-safe." This removes any doubt about potential toxins leaching into your bread. If a pot is made in Italy or Europe, it often adheres to stricter safety standards, but always verify.
- Size: The recommended size (4" diameter top, 3+" height) is perfect for individual portions. Larger pots might require adjustments to baking times and dough volume.
- Preparation is Key: Even food-safe terra cotta pots need a little TLC before their first bake.
- Curing: Submerge new pots in water for several hours, or even overnight. This helps to condition the clay and prevents it from aggressively drawing moisture out of your dough during baking.
- Oiling: Once cured and dry, lightly brush the inside of the pots with a neutral cooking oil (like vegetable or canola oil) before each use. This helps prevent sticking and contributes to a lovely golden crust.
For more detailed guidance on selecting and preparing your pots, and understanding the nuances of terra cotta safety, you'll find an invaluable resource in our dedicated guide: Bake Flowerpot Bread: Terra Cotta Safety & Rising Secrets.
Mastering the Perfect Rise: The Oven Warming Technique Unveiled
The secret to light, airy flowerpot bread with a tender crumb lies not just in the ingredients, but critically, in the rise. Yeast, the magical leavening agent, thrives in a warm, consistent environment. Too cold, and it's sluggish; too hot, and it can die, leaving you with dense, flat bread. This is where the oven warming technique, a tried-and-true method, truly shines, providing that Goldilocks-just-right spot for your dough.
Here’s the precise method, as outlined and expanded upon, to create your ideal proofing environment:
- The Quick Burst: Turn your oven on to a moderate temperature, specifically around 350ºF (175ºC).
- The Critical Minute: Let the oven heat for exactly *one minute*. This timing is crucial.
- Immediate Shutdown: Turn the oven off immediately after one minute. Do not allow it to continue heating.
- Create the Haven: Once the oven is off, place your dough-filled flowerpots inside. Close the oven door.
Why this works, and what to avoid:
- Gentle Warmth, Not Heat: The goal is not to bake the bread, but to create a slightly warm, draft-free environment. After one minute at 350ºF, your oven's interior will typically reach around 100ºF (38ºC) or slightly less. This is the sweet spot for yeast activity—warm enough to encourage rapid fermentation, but not so hot as to kill the yeast or cook the dough prematurely.
- The Danger of Overheating: The reference context explicitly warns against allowing the oven to get to, say, 300ºF (150ºC) and *then* heating it for a minute at that setting. If your oven reaches a sustained higher temperature, even for a short duration, it will become far too hot for proofing. This mistake leads to yeast death and a failed rise. Always remember: just one minute of initial heating, then immediately off.
- Consistency is Key: Unlike a countertop rise that can be affected by drafts or ambient room temperature fluctuations, this oven technique offers a stable, controlled environment.
Troubleshooting Your Oven Warm Spot
While the oven warming technique is straightforward, oven efficiency varies. Here are some tips:
- Use an Oven Thermometer: For absolute precision, place an oven-safe thermometer inside your oven before and after the one-minute heating burst. This will help you understand your oven's specific quirks and ensure it's not getting too hot. The ideal range for proofing is generally between 80-100ºF (27-38ºC).
- Adjusting for Oven Strength: If your oven heats up very quickly, you might even try 45 seconds or a slightly lower initial temperature (e.g., 300ºF for one minute). Conversely, for a slower oven, you might nudge it to 75 seconds or an extra 50ºF for the initial burst. Always check with a thermometer.
- The "Pilot Light" Method: Some ovens have a pilot light that generates enough residual heat for a gentle proof. If your oven has one, this can be an even more passive way to create a warm spot.
Beyond the Rise: Baking and Enjoying Your Flowerpot Bread
Once your flowerpot bread dough has beautifully risen—typically doubling in size and showing a lovely domed top—it's ready for the final stage: baking. Carefully transfer your pots to the preheated oven. It’s often beneficial to preheat the empty pots inside the oven for the last 10-15 minutes of the main oven preheat; this ensures a crispier crust and helps the dough spring wonderfully.
Baking times and temperatures will vary based on your specific bread recipe (many adapt a master peasant bread recipe) and the size of your pots, but a general starting point is around 375-400ºF (190-200ºC) for 25-35 minutes, or until golden brown and cooked through. A probe thermometer inserted into the center should read around 200-210ºF (93-99ºC).
Upon removal, let the bread cool slightly in the pots before carefully removing them to a wire rack to cool completely. The aroma filling your kitchen will be pure bliss! Serve your flowerpot bread warm with butter, homemade jam, or a sprinkle of sea salt. It makes for incredible sandwiches, accompanies soups beautifully, and is, of course, absolutely perfect as free toast—a truly homemade pleasure. For more ideas on how to bake and enjoy these charming loaves, including tips inspired by their café counterparts, explore our guide: Flowerpot Bread Guide: Recreate Terrain Cafe's Adorable Loaves.
The art of baking flowerpot bread is a delightful journey that combines rustic charm with delicious results. By embracing the simple yet effective oven warming technique for proofing, you unlock the secret to a consistently perfect rise, transforming simple ingredients into beautiful, flavorful loaves. From selecting safe, food-grade pots to mastering the gentle warmth that coaxes yeast to life, every step contributes to an unforgettable baking experience. So go ahead, set your sights on that ideal rise, and prepare to impress yourself and your loved ones with these adorable, deeply satisfying creations that offer the ultimate joy of homemade bread, perfect for gifting with a charming bookplate, or simply enjoying as the best free toast you've ever made.
